


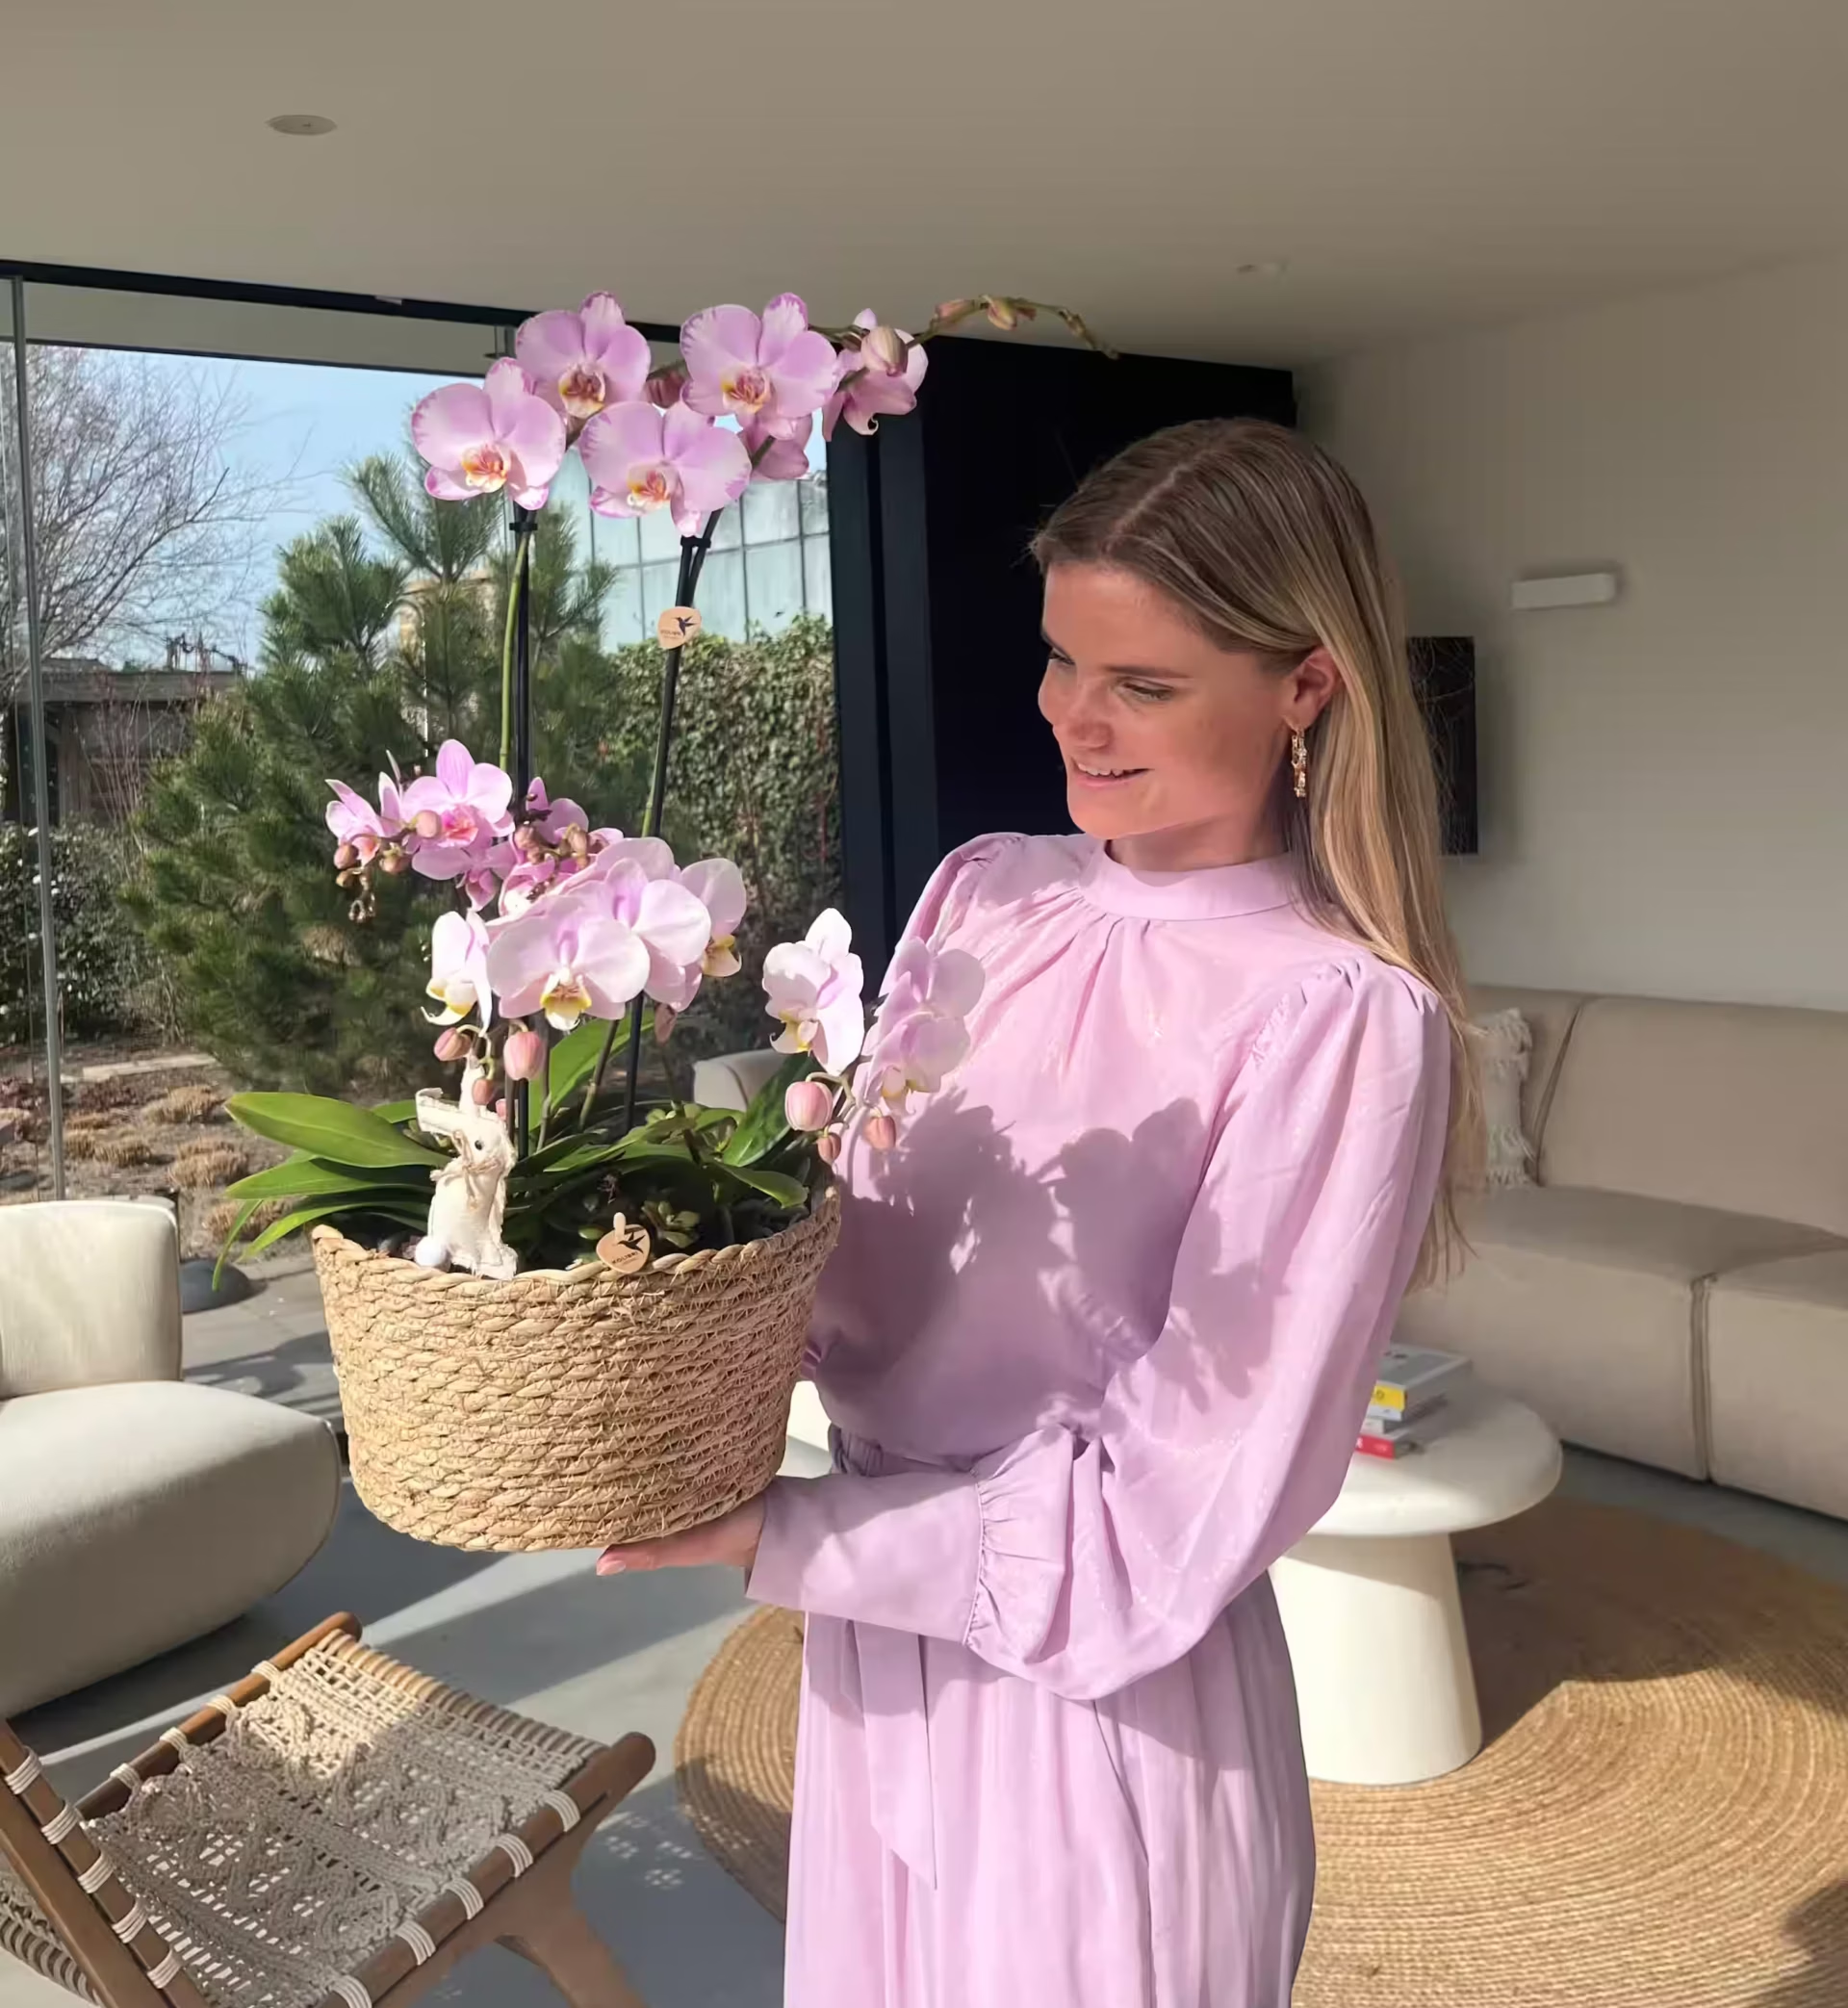
Field bouquets are the trend of the moment. You see them everywhere: in interior design magazines, on Instagram, and in stylish homes. They give your home a fresh, playful look and fit effortlessly into both modern and rustic settings. But what if we told you that you can create a field bouquet that doesn’t wilt after a week, but stays beautiful for months? Meet the field bouquet 2.0: a combination of flowering orchids in different pot sizes, carefully styled into one harmonious whole.
In this DIY, we show you how to put together such a unique orchid bouquet yourself – ideal for the dining table, the hallway, or as an original gift.
What makes this bouquet special?
Instead of a classic bunch of flowers, you work here with living plants – Kolibri Orchids and Kolibri Greens. By playing with heights, sizes, and color shades, a nonchalant, field-like effect is created. And the best part? Thanks to the integrated watering system, you hardly have to look after it, while the orchids continue to bloom for months.
What do you need?
For this DIY project, you will use:
- 2x Kolibri Orchids in pot size 9 cm
- 1x Kolibri Orchids in pot size 12 cm
(Note: choose orchids in the same color shade for a harmonious whole) - 3x Kolibri Greens in pot size 6 cm
- 1x Wicker basket from Kolibri Home with inlay watering system
How to make your field bouquet with orchids
- Preparing the basket
Start by filling the water reservoir of the Kolibri Wicker Basket. Fill up to the indicated line – no higher, because orchids don’t like it when their roots are sitting in water.
- Attaching watering wicks
Insert a watering wick into the bottom of each plastic pot. This wick ensures that the plant absorbs the water gradually. Ideal for long-lasting blooms and minimal care.
- Styling orchids
Place the orchids, pot and all, into the basket. For the small pot sizes, you can remove the support sticks for a more natural look. Vary the height and shape for an airy, playful result. Turn the basket a quarter turn every now and then so that you create a nice balance on all sides.
- Adding greenery
Time for the finishing touch: the Kolibri Greens. Place them between the orchids for extra texture, contrast, and a botanical vibe.
- Enjoy!
Your DIY orchid bouquet is ready! Place it in a nice spot in your home and enjoy a stylish, flowering eye-catcher that lasts for weeks – even months.
Tip: check the water level once a week by removing the inlay from the basket. Is the water gone? Then you can easily refill it through the center of the inlay.
Watch the DIY here:
A lasting eye-catcher
With this orchid field bouquet, you don’t just bring a piece of nature into your home, but also a stylish and sustainable twist on the traditional bunch of flowers. Perfect for everyone who loves flowers and convenience. Where are you going to put yours?