


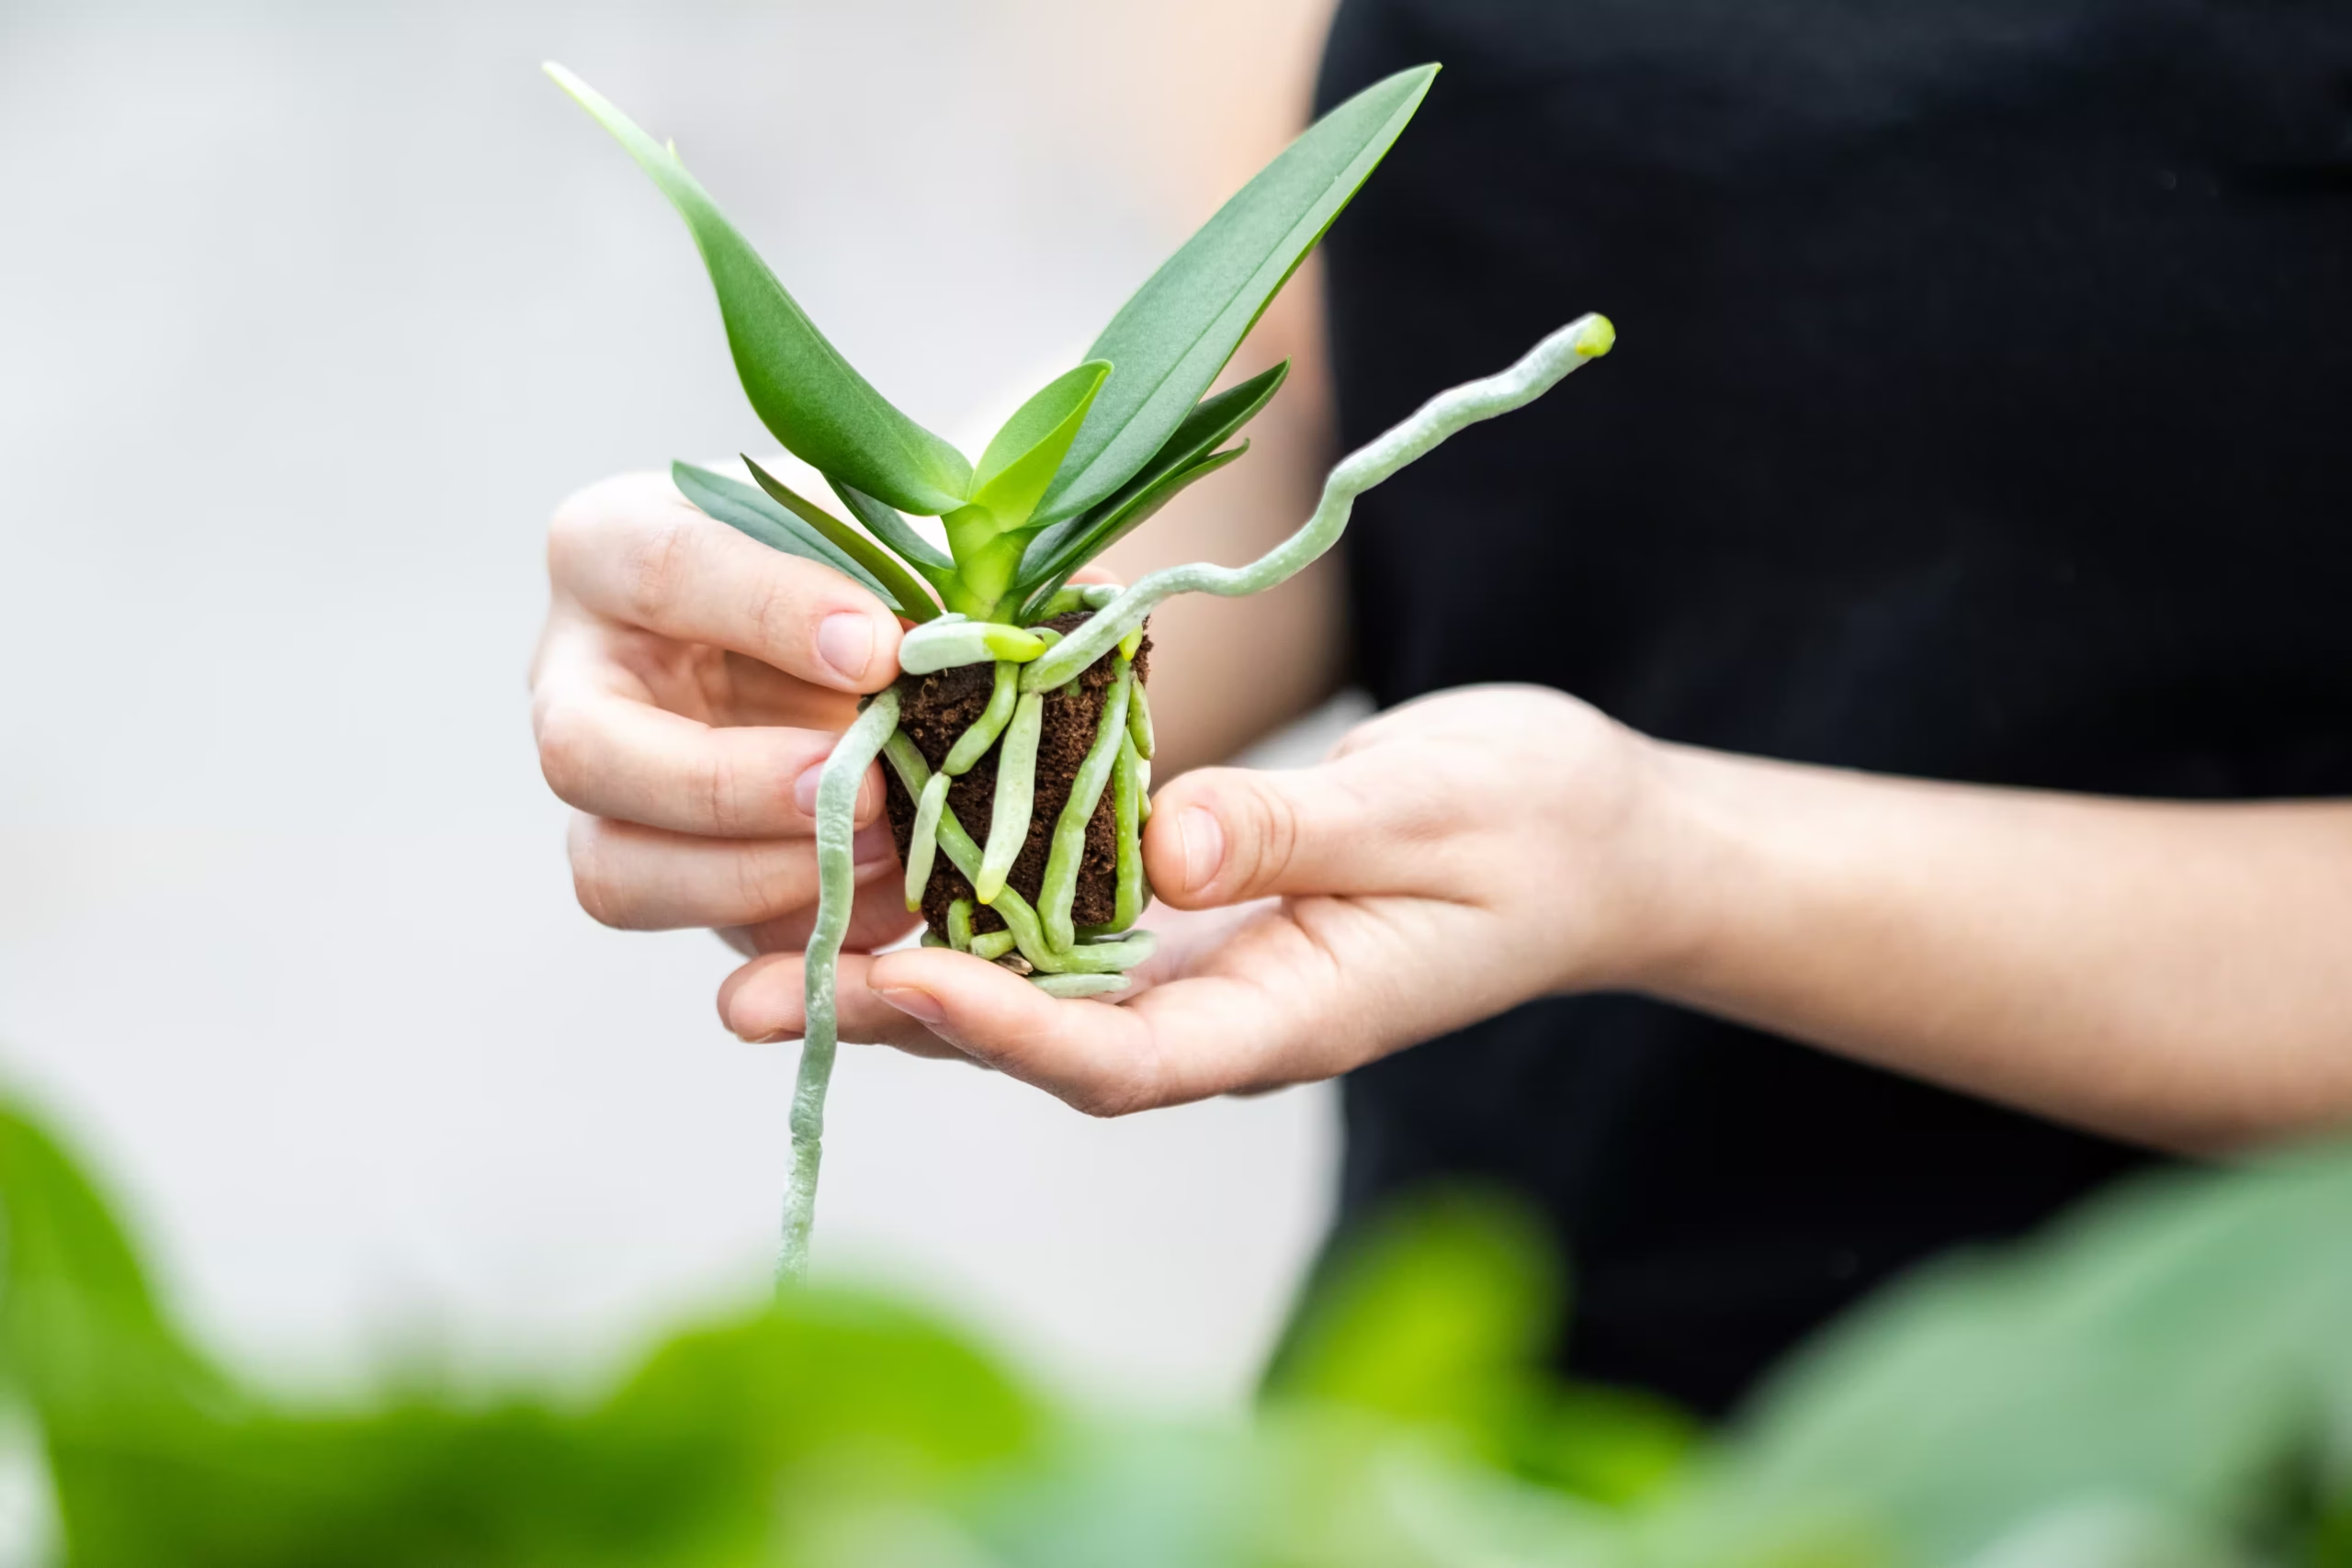
Taking Orchid Cuttings
How can you take orchid cuttings?
Do you want to take cuttings from your own orchid? Orchids aren’t the easiest plants to propagate, especially for beginners, but with the right method and some patience, it’s possible to grow your own orchids.
Our grower Rob has years of experience with orchid cuttings. In our nursery in Naaldwijk, we take the orchid cuttings ourselves. If you want young, healthy orchids, it’s best to buy orchids in our shop. Still want to try taking orchid cuttings yourself? Then read on. Below, Rob shares his best tips for taking orchid cuttings.
Tips for taking orchid cuttings
There are several ways to take a cutting from an orchid. Which one you use depends on the type of orchid. There are so many different orchids, but in this article, we discuss the most common ways to take cuttings: keiki cuttings, dormant eye cuttings, and rhizome division.

Keiki cuttings
How do keiki cuttings work with an orchid?
A common way to take a cutting from an orchid is via a keiki, a young plant that grows on the mother plant. The phalaenopsis is also propagated using this method. Wait until the keiki has roots of at least 6 cm. Carefully remove it from the mother plant and place it in a new pot with orchid bark. Ensure a stable ambient temperature and provide enough water to let the young plant grow. Follow the steps below to take a cutting from your orchid using the keiki method.
Pro tip: The formation of keikis doesn’t happen automatically and often requires a trigger. This usually happens when the plant experiences stress, such as damage to the flower stem, or under the influence of specific hormones (such as cytokinin paste).
1. Take your time
Wait until the keiki has roots of at least 6 cm. Make sure the keiki is healthy.
2. Removing the keiki
Use a sterile knife to carefully cut the keiki away from the mother plant. Make sure you include some roots.
3. Potting
Place the keiki in a pot with airy orchid potting soil (such as tree bark)
4. Care
Water regularly, provide indirect sunlight, and keep the humidity stable. Read all our orchid care tips here.
Tip! In another blog, we tell you everything about a keiki. Read our blog What is a keiki?
Dormant eye cuttings
Another (advanced) method is using a dormant eye, a bud from which no branch has yet grown. This eye can be carefully removed and grown into a new plant. The process requires sterile tools and patience, as the eye needs some time to grow. Here is a step-by-step plan for taking an orchid cutting via a dormant eye:
1. Identify a dormant eye
Look for a bud from which no branch has yet grown, often found on the stem of the orchid.

2. Careful removal
Use a sterile knife or tweezers to remove the top layer of the eye, so that a bud becomes visible.
3. Taking the eye cutting
Place the eye in airy orchid potting soil and keep it moist.
4. Water and light
Provide the right amount of light and moisture so the new cutting can grow. You can also provide extra nutrition.
Not for the hobbyist
Before you try this method, it’s good to know that taking a cutting from a dormant eye is theoretically possible, but can be very difficult in practice for hobbyists. Dormant eyes usually develop into a new stem rather than a completely new plant. If you want more certainty, taking a cutting via a keiki is easier and offers more success.
Rhizome division
For certain orchids such as the Dendrobium, rhizome division is a suitable method. The rhizome is divided into sections, each with enough roots and new shoots. Place each section in a separate pot and provide the right care. Here is a step-by-step plan for taking an orchid cutting via rhizome division:
1. Choose a healthy plant
Choose a mature orchid with multiple buds and healthy roots
2. Remove from the pot
Carefully remove the orchid from the pot and shake excess potting soil off the roots.
3. Divide the rhizome
Use sterile tweezers or a knife to cut the rhizome into pieces, each with at least one shoot and roots.
4. Repotting
Place each part in a separate pot with orchid potting soil. This is tree bark or orchid bark. The orchid cannot grow in normal soil. Read more about this in our blog repotting orchids.
5. Care
Water, and check light and humidity for good growth.
Tip! For rhizome division, it’s important that the plant is sufficiently mature and has multiple pseudobulbs, otherwise the parts won’t be able to survive independently.
Tips from the experts
At Kolibri Company, grower Rob takes orchid cuttings in our nursery in Naaldwijk. If you find this process too difficult as a hobbyist, you can always buy healthy young orchids in the shop. Still want to get started yourself? Then ensure a stable temperature, sterile working conditions, and above all, lots of patience. You now have the knowledge and a good foundation to take your own orchid cuttings. Taking cuttings is a process that requires time and experience, but practice makes perfect, especially with the right preparation. Have fun taking cuttings from your orchids!